ALT TEXT

how to gif on android phone

...you actually thought i would stop posting, didn't you? too bad that when i'm on an ocd phase about something, i'm not stopping unless i have to go to the bathroom or get some sleep lmao

i re-wrote this tutorial because i didn't really like how it turned out so now you only need two apps instead of three! one of them is free on the play store, the other one i believe is freemium and you totally won't find it under the cut

here's the app we need for the coloring: 24fps

you won't click me, okay?
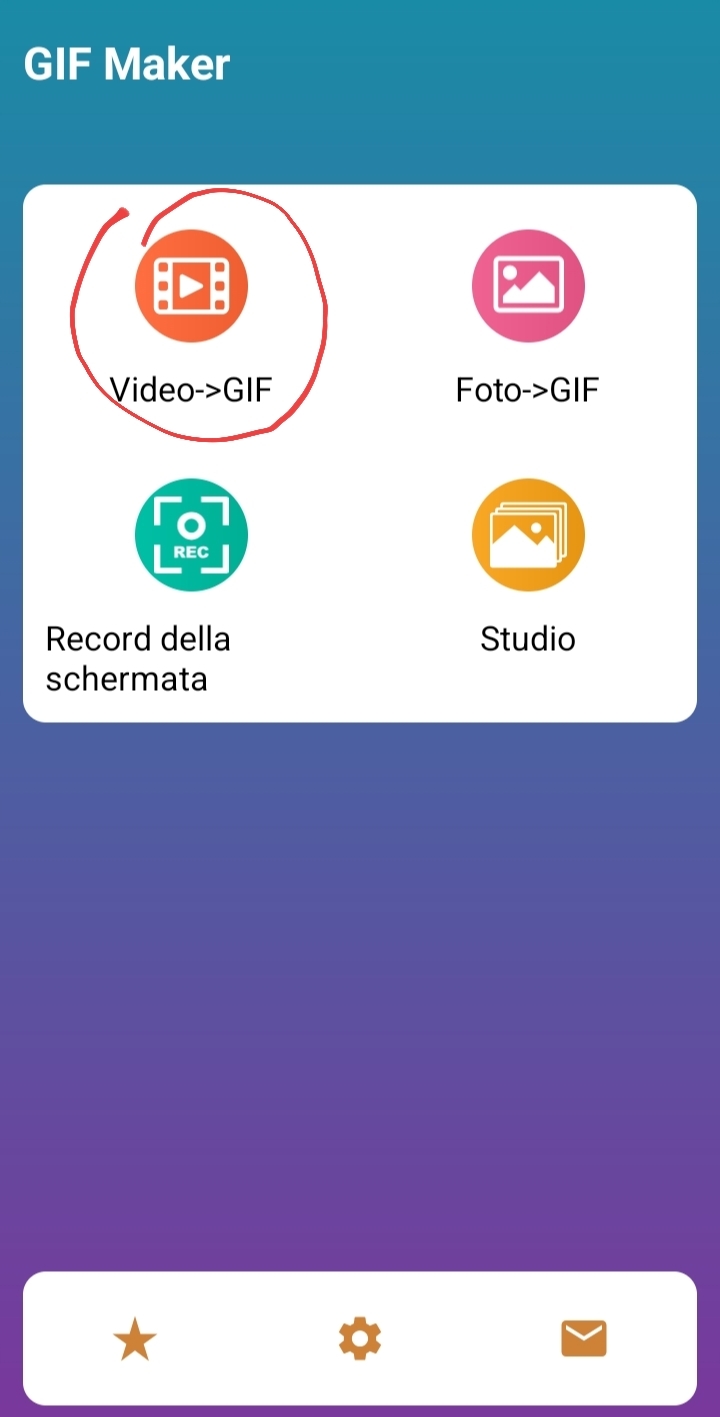
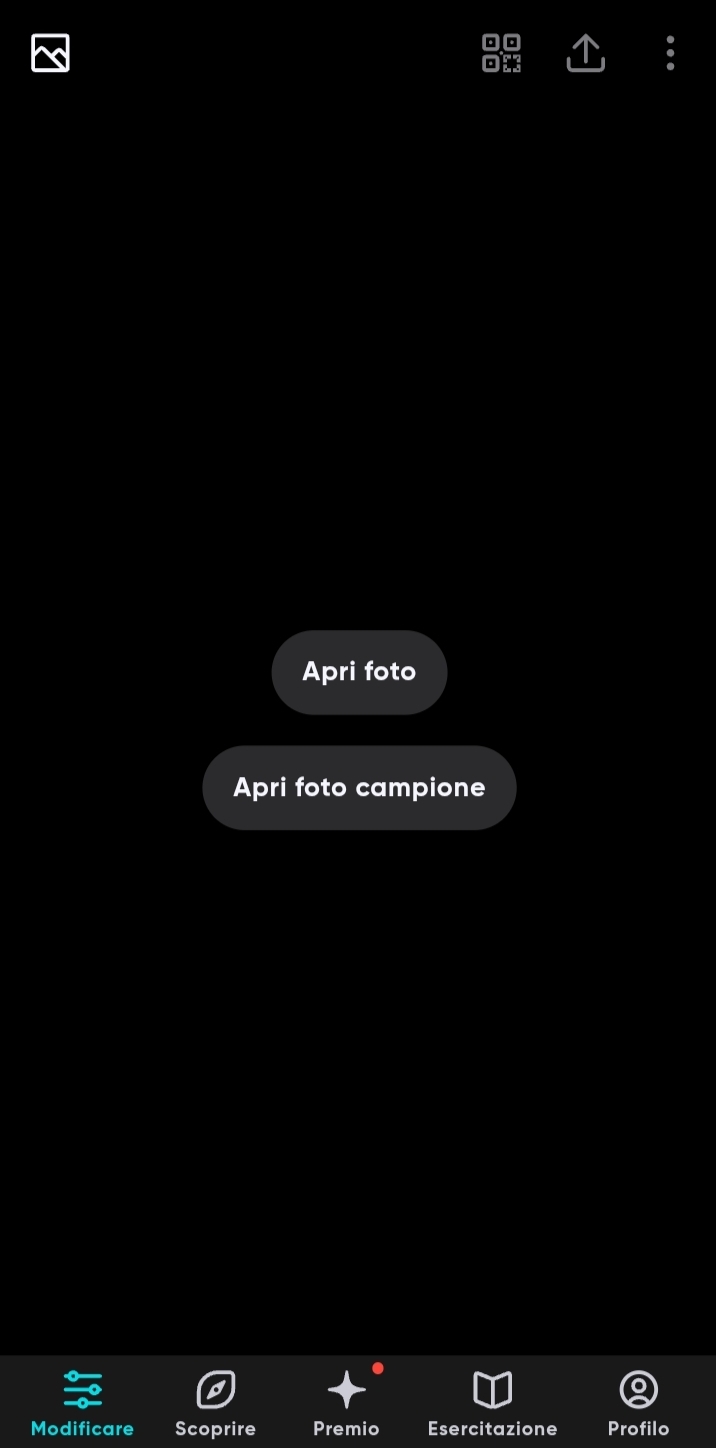
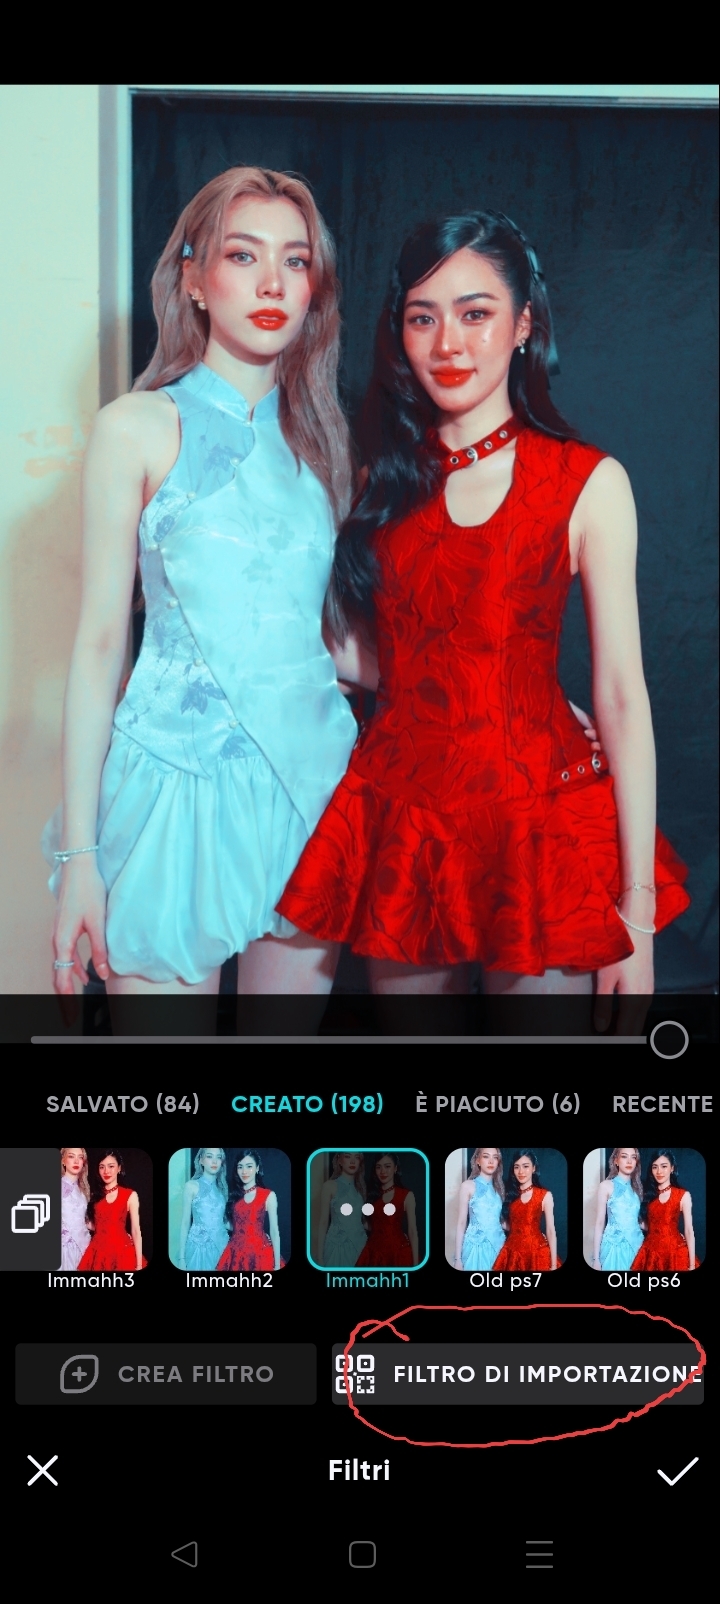
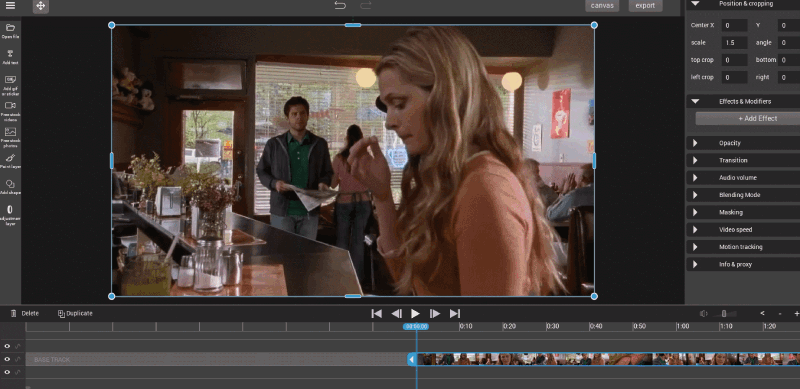
 gif maker

okay, first thing first: you got to have a Polarr account and already have some filters imported in Polarr, unless you want to use the filters you find on the app (amazing filters btw but if you want to use a psd coloring you like -just like i explained in another tutorial down here- you need an account to sync them between both apps). done? 'kay, now you have to open Gif Maker and tap on "Video to GIF".

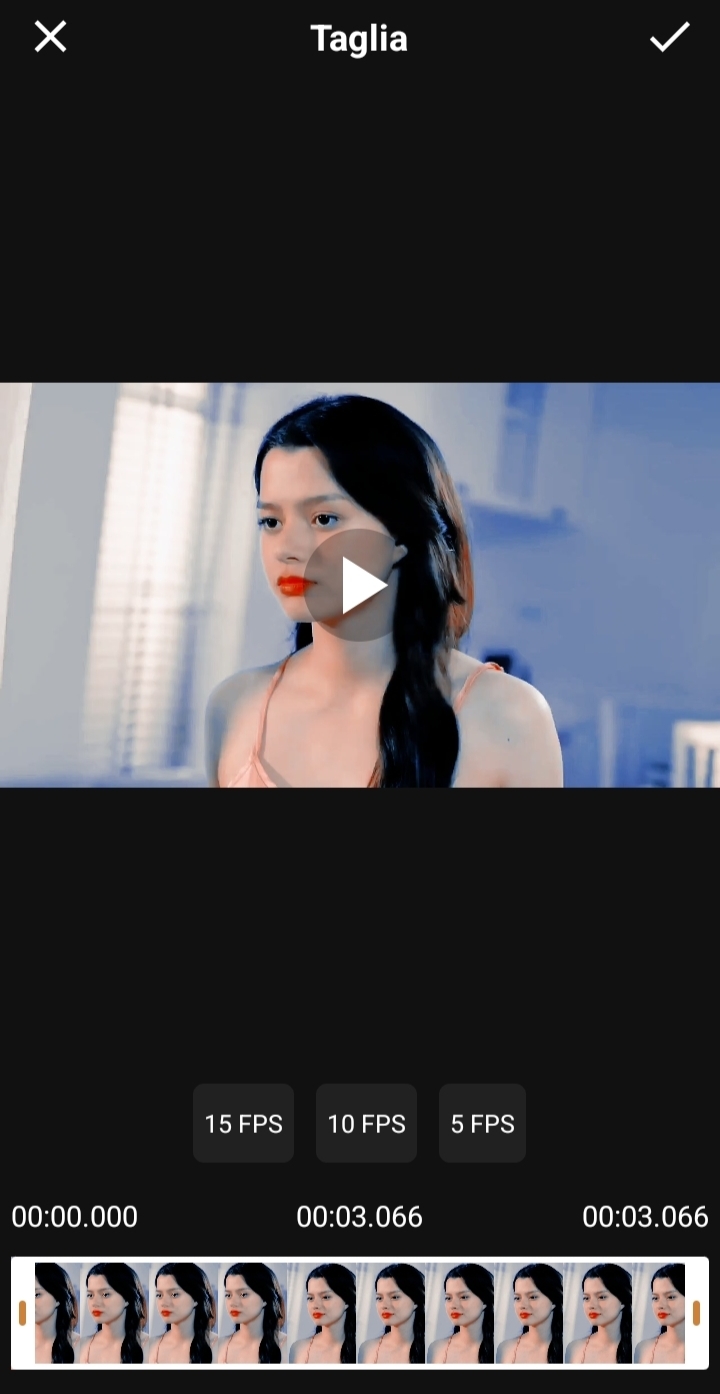
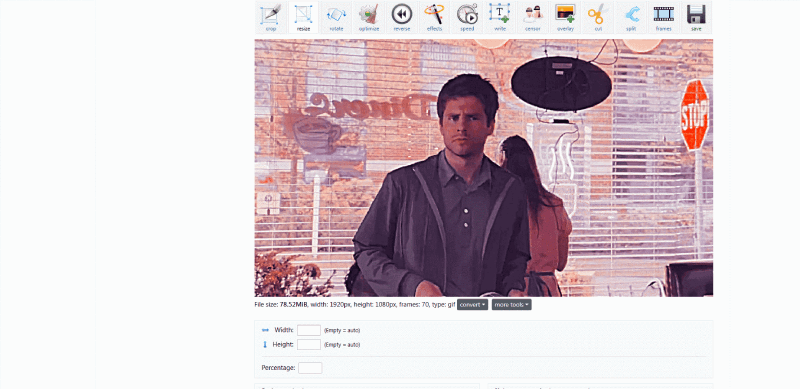
choose the video you want to cut from your camera roll or whatever folder it's in. i chose an episode of GAP the series (if you're a sapphic watch it, btw) and used the white slides/thingies to pick the part of the video i want to cut.

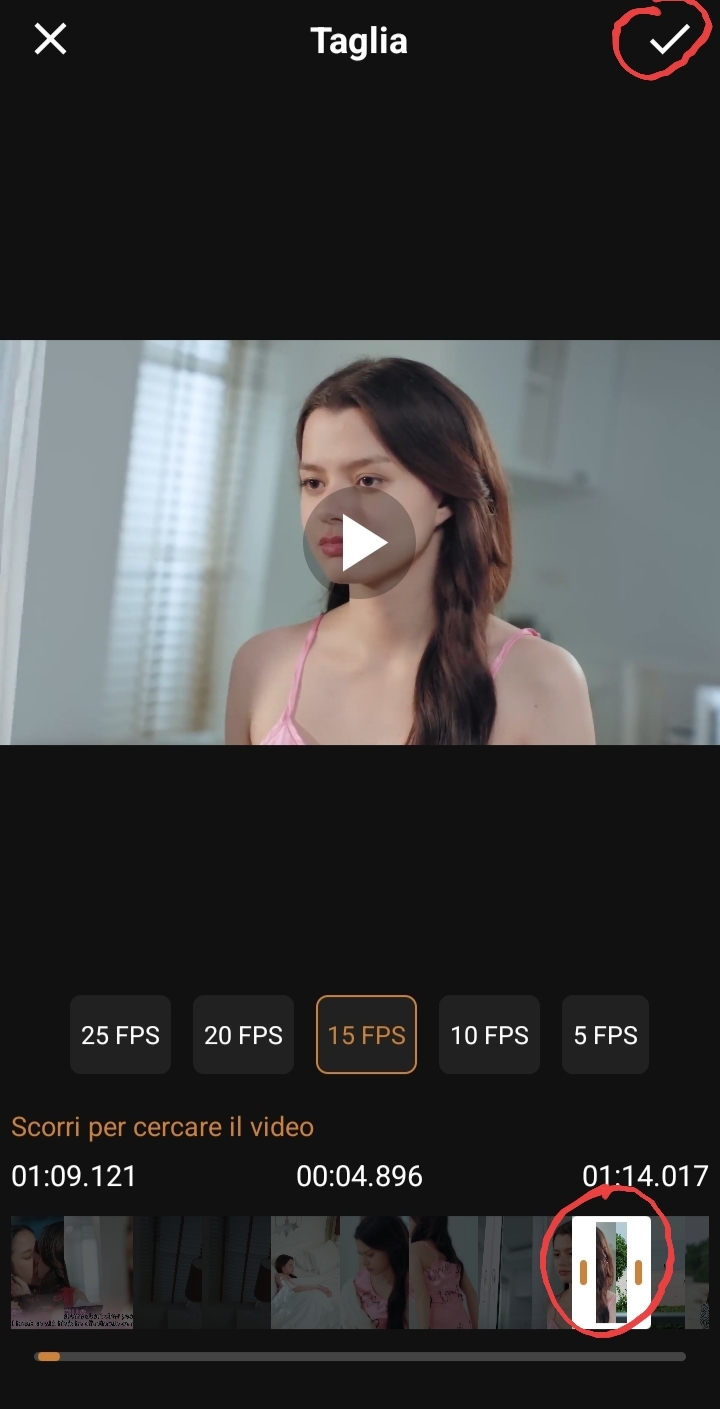
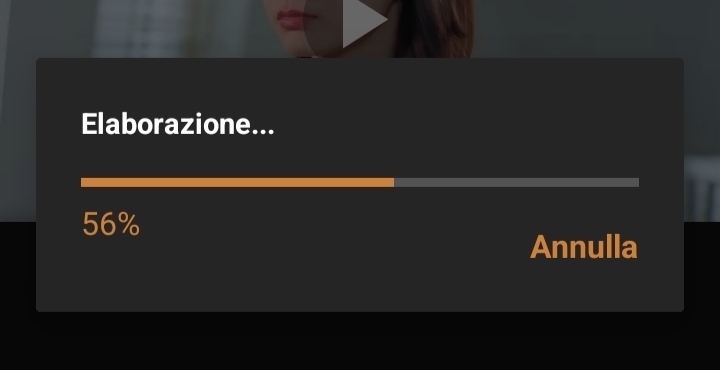
now wait for the app to load the clip.

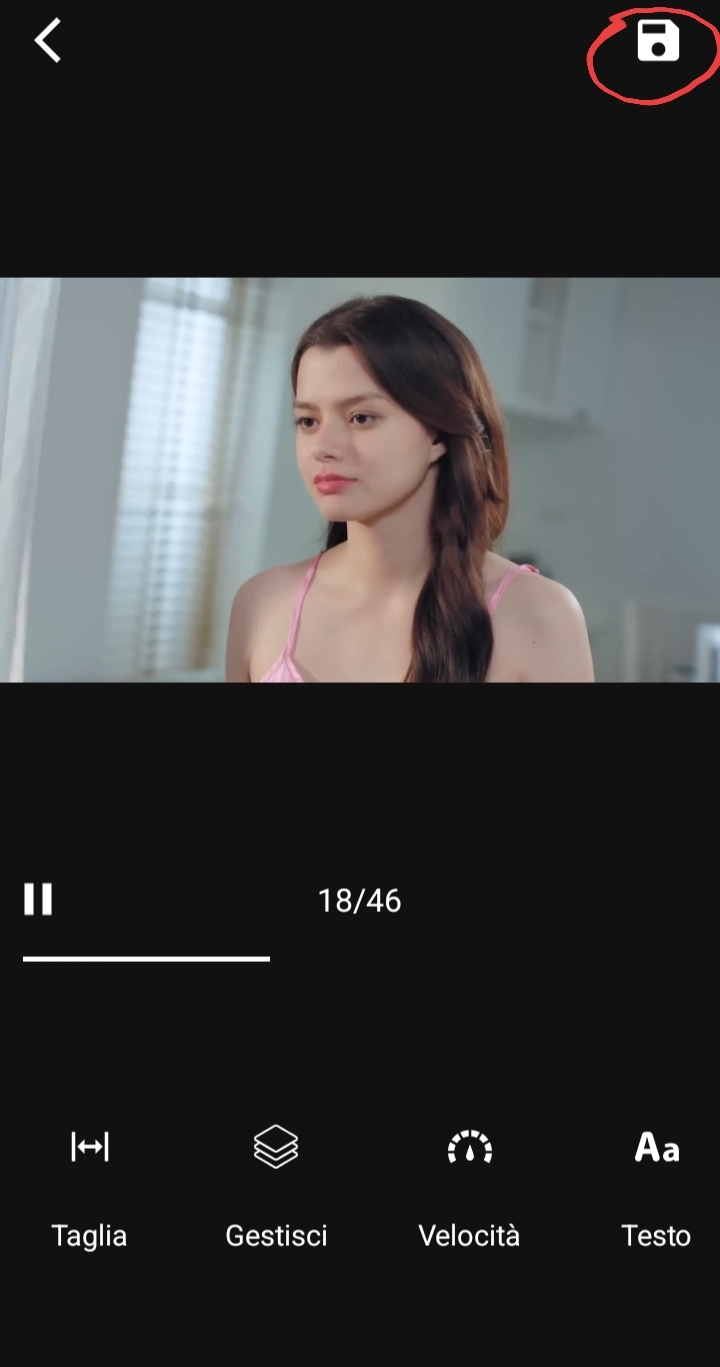
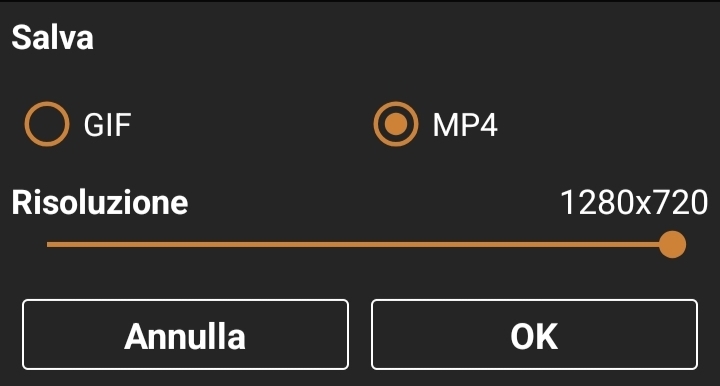
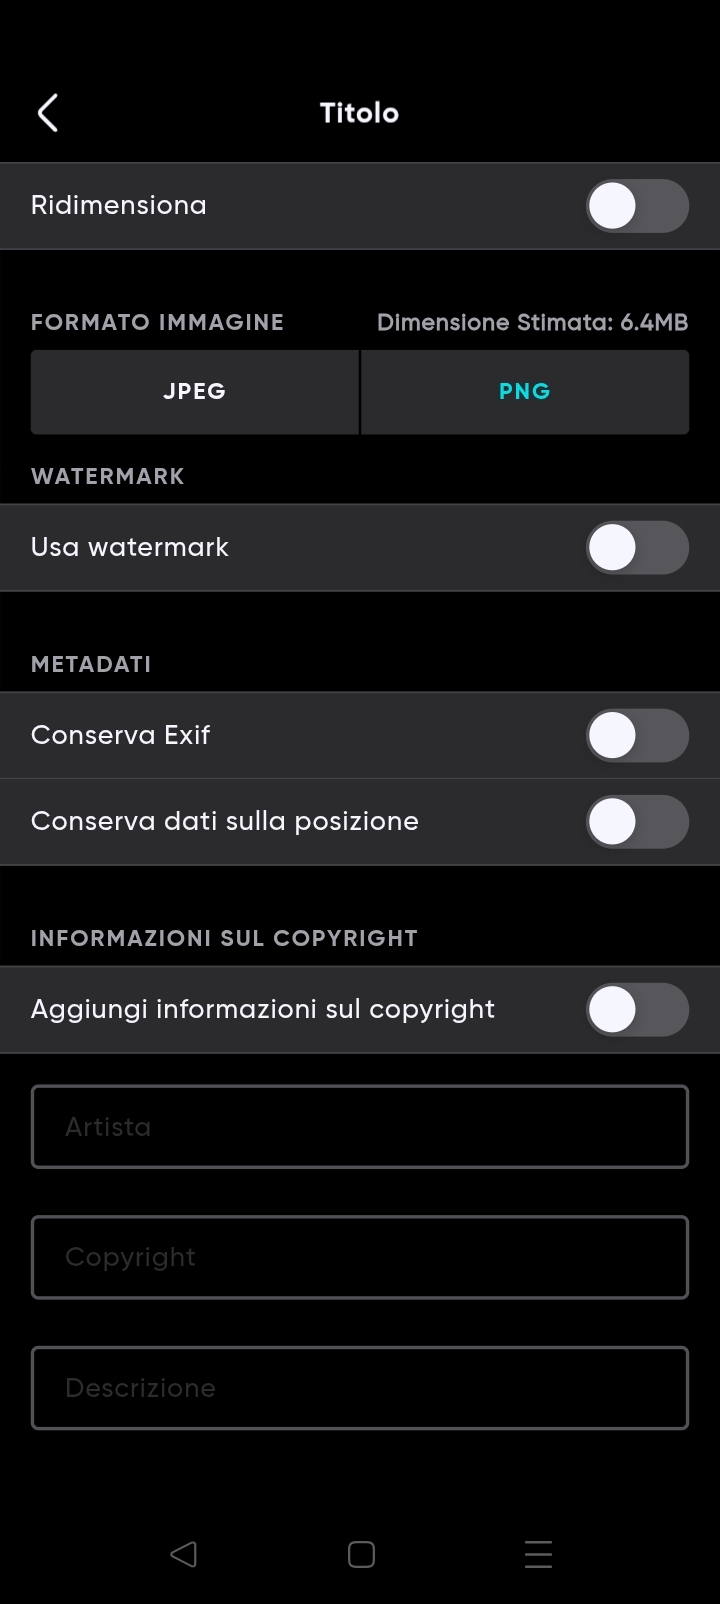
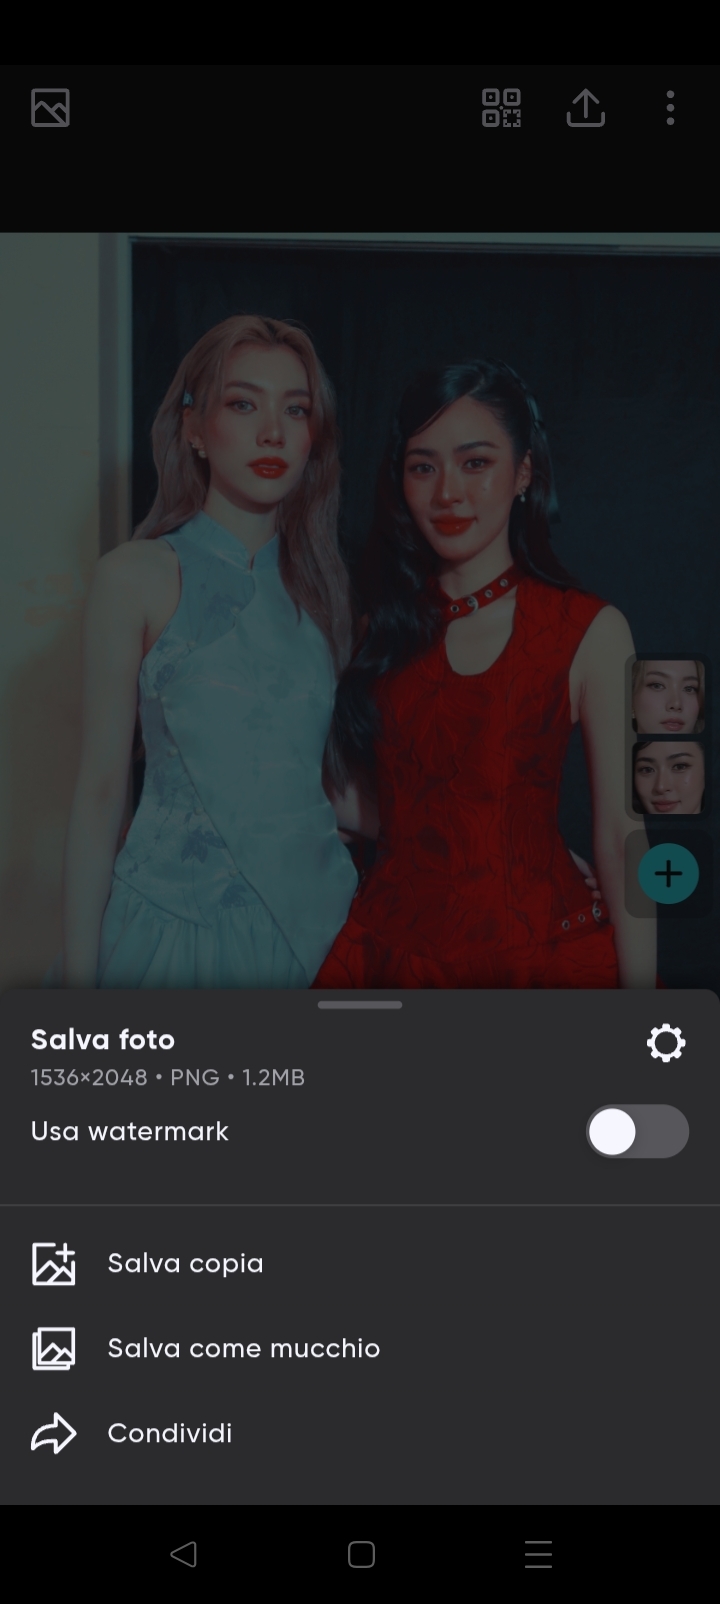
tap on the save icon and choose the mp4 format, we'll turn it into a gif after we've applied the coloring.

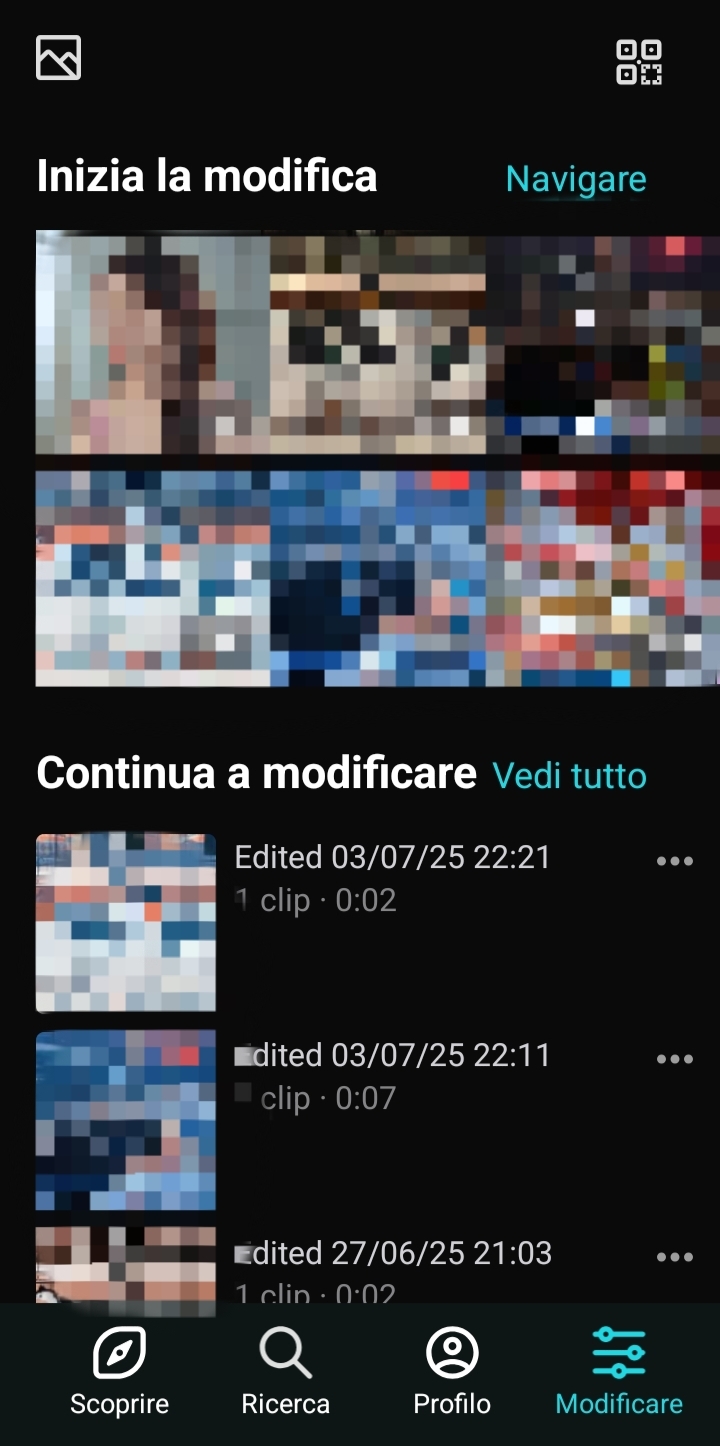
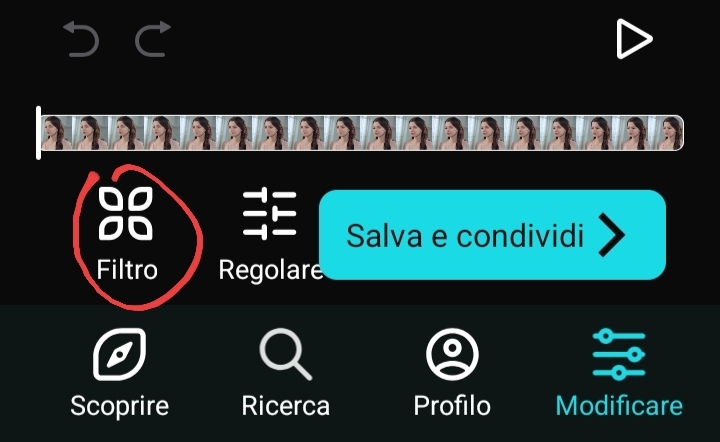
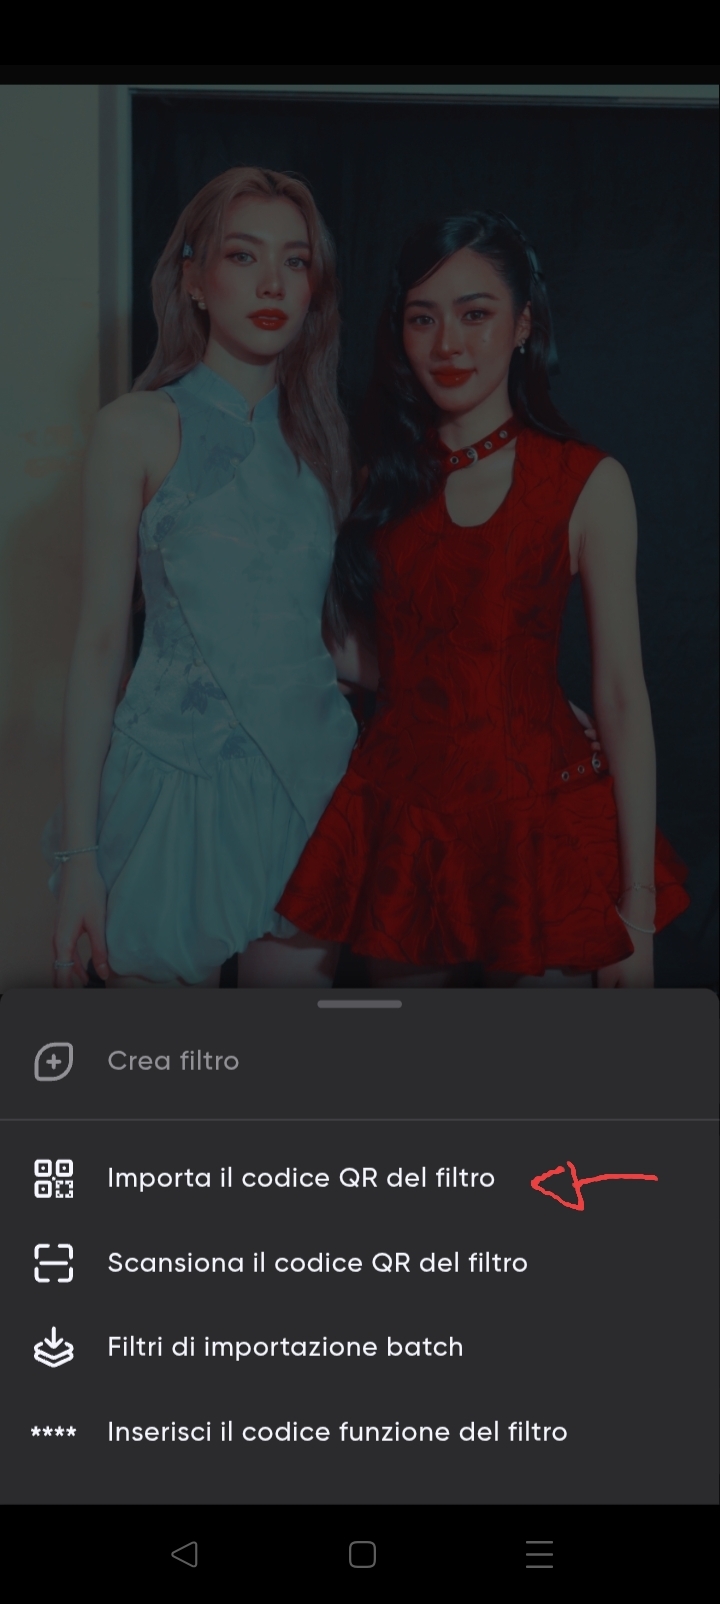
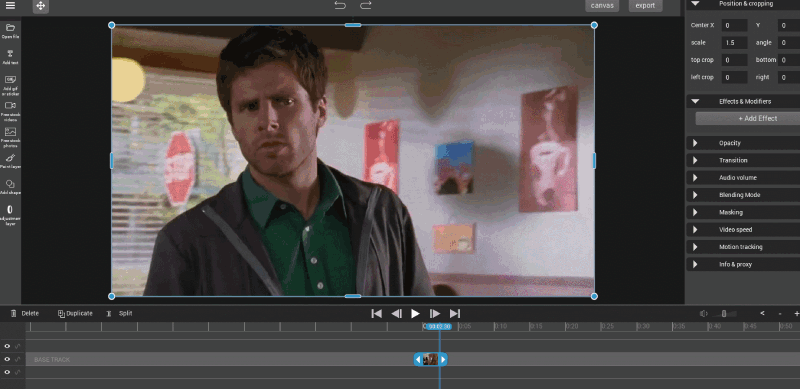
now you can close the app and open 24fps. you have to tap on edit.

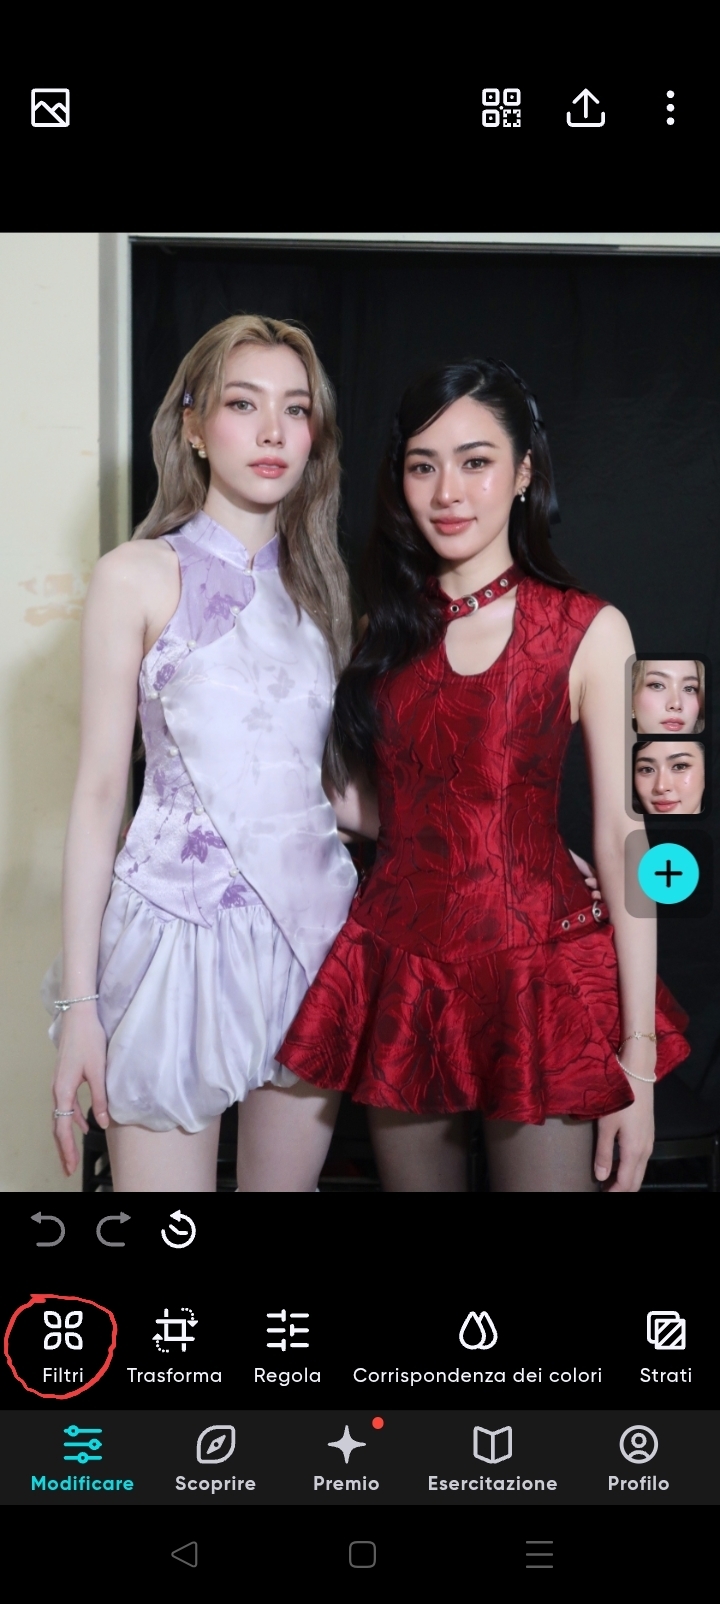
choose the clip you cut and saved from your camera roll and then tap on Filters


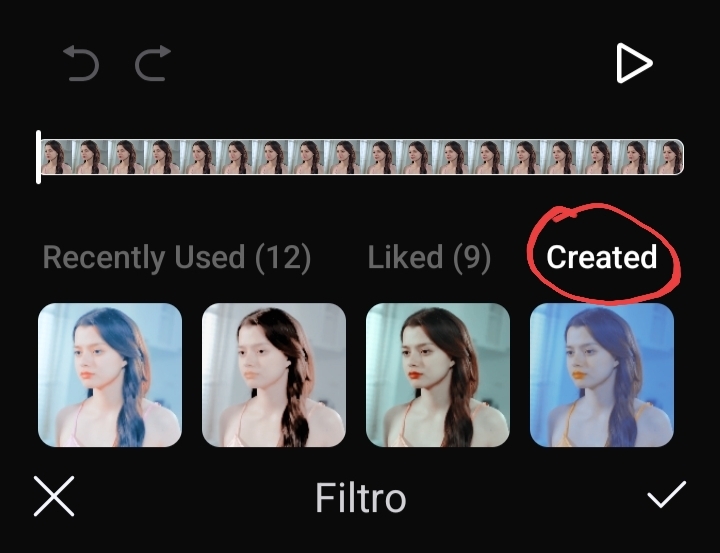
now tap on Created or on your filter collection synced with Polarr, and choose whatever filter you like the most.


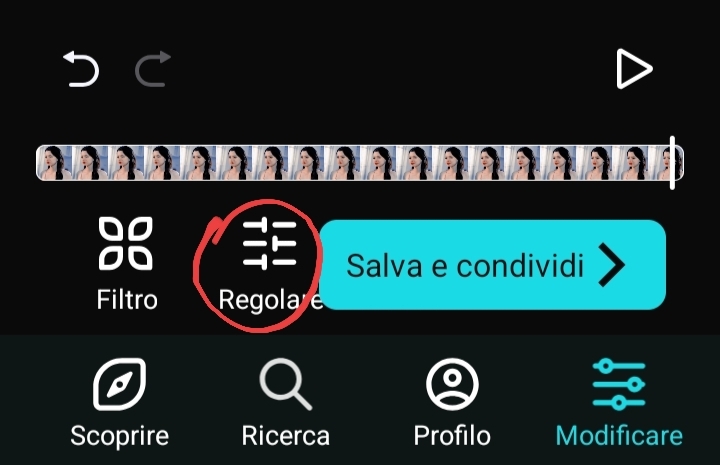
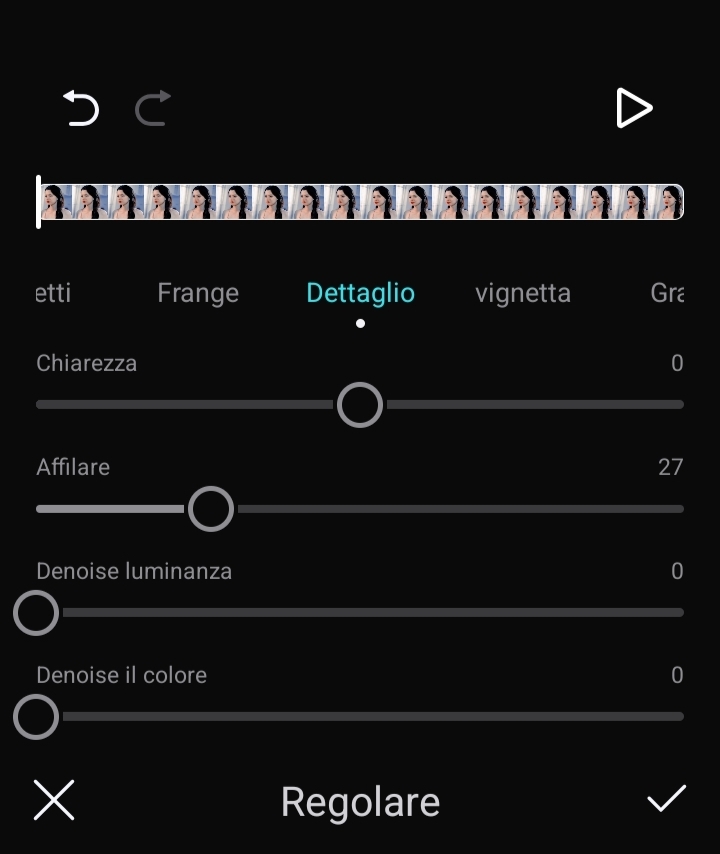
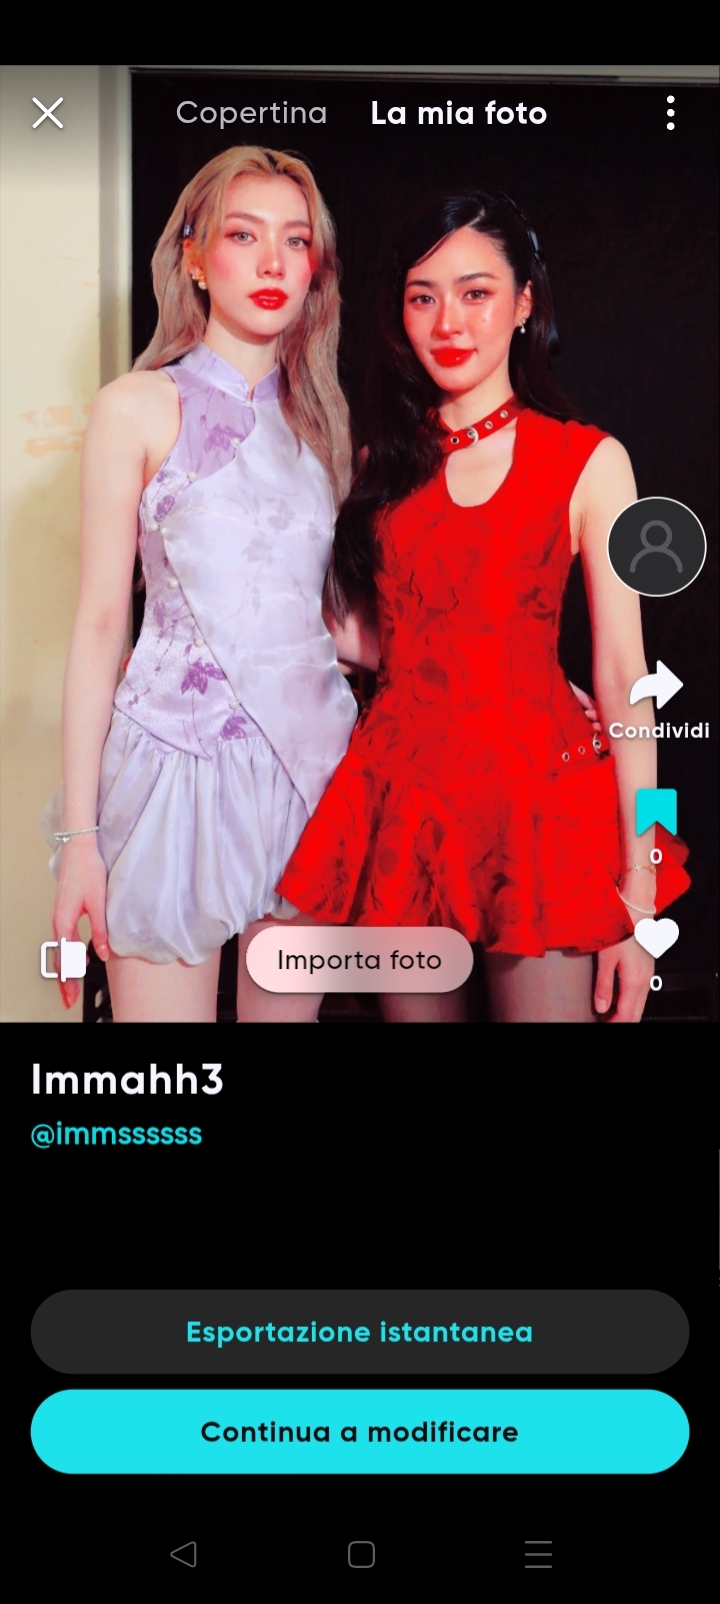
after you've applied the filter, you can edit it or just apply a sharpen effect by tapping on the icon next to Filters.


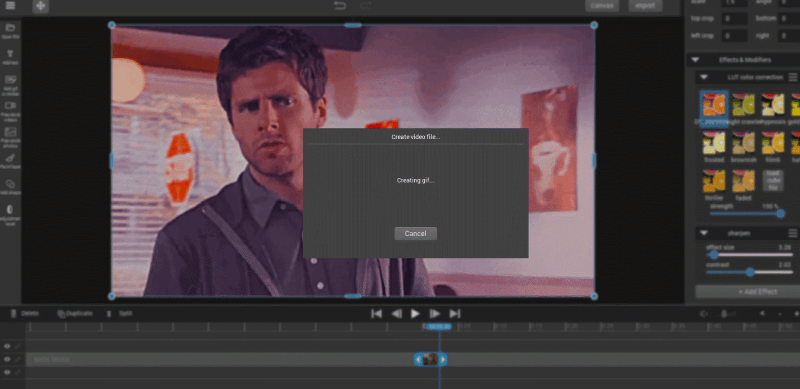
after applying the sharpen filter, you can save the colored clip by tapping on the blue button and then re-open Gif Maker and choosing again Video to Gif (but this time we're opening the clip we've filtered and cut).


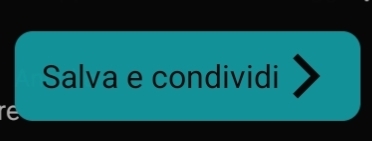
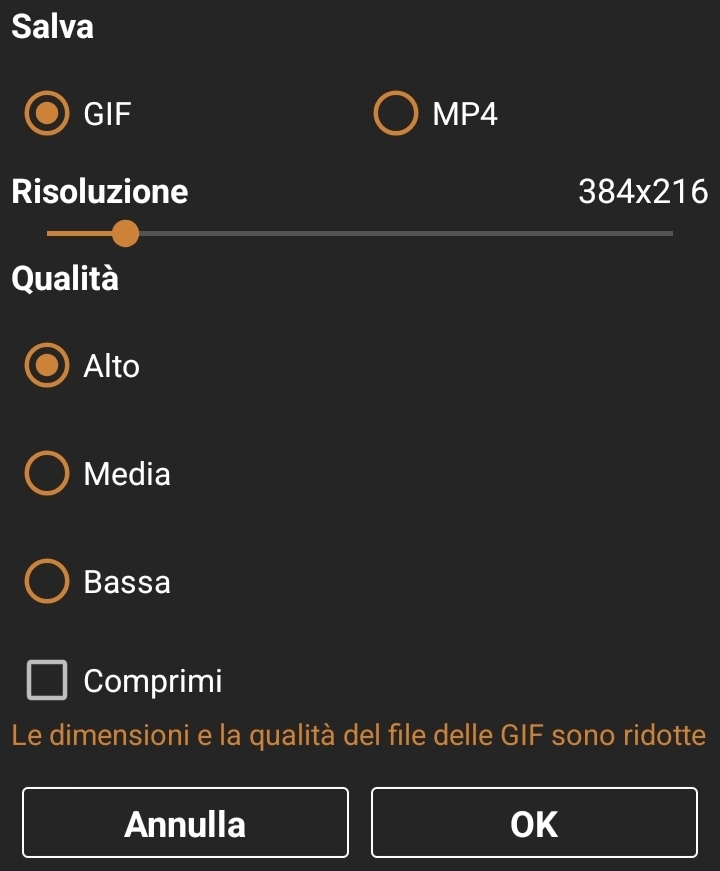
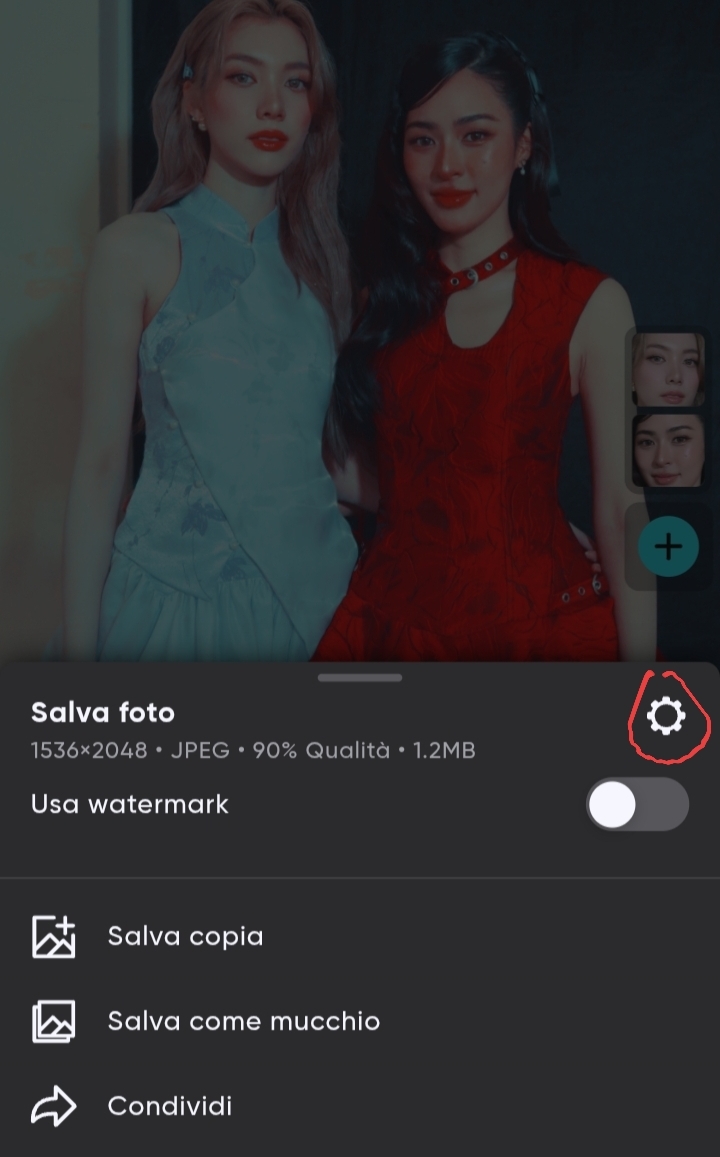
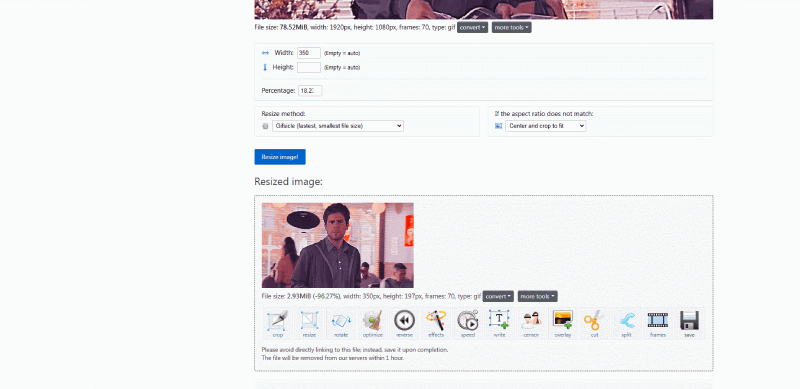
this time, we're going to save in GIF format and choose high quality and the gif size with the orange slide.

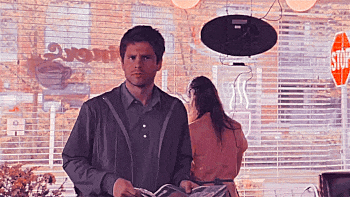
unless you want to edit the gif more (you can delete frames, add text, set the speed etc), the tutorial's over! here's the example gif.

ALT TEXT

how to convert psd colorings to lut

okay okay i promise this is the last guide of the day, but it's very important for you to know this trick!

open photopea and drag your psd (warning: make sure that your psd is made with photopea because psds made with photoshop might or might not work, it depends. i found out that psds made with photoshop cs6 and down are almost 100% compatible, with some made with newer versions this tutorial won't work)

make sure that your psd has the adjustment layers in a folder, now click on the folder and then go to file -> export color lookup and leave the default settings

once the .cube file is downloaded to your default download folder, open it, drag it into photopea to load it and now we'll see if it's been converted correctly. open an image, then go to new adjustment layer -> color lookup, scroll down the list if you have other .cube files uploaded into photopea then click on the name of the one you have just imported.

that's it!

ALT TEXT

how to import filters to polarr

hey there, i'm going to teach you how to import filters to polarr using qr codes. you can find some cool filters here in my goodies page. now let's start!

open Polarr and tap on open photo, choose whatever photo you want to apply your filter to, then tap on Filters


tap on import filters and choose the option to import filters by QR code


choose the filter you have previously saved in your camera roll (they must have a QR code on the image otherwise they won't work) and if it prompts to, tap on Select

then you'll get these two options, choose "keep editing"

if you like how the filter works on the image you can save it by tapping on the export icon that's up on the right, then tap on the little gear and choose the PNG format, then tap on "save copy"


and you're done! now you should have your imported filters saved and synced with 24FPS (if you created a Polarr account) :)

ALT TEXT

how to make gifs with free tools, 1st method

warning: this tutorials series is gif heavy.

hey guys! i'm going to teach you how to do gifs with a series of free tools. this first tutorial will teach you how to make gifs with vidmix where you can cut the video, add coloring and sharpen to your gifs + ezgif to resize and optimize them. so, let's start!

first things first, you need a video you want to gif. for this tutorial, i chose episode 2 of psych, one of my favorite tv shows. now let's open vidmix in our browser of choice and drag the video on the canvas

once you've done this, play the video until the part you want to cut or move the blue thingy where do you want your gif to start

when you've reached the point you want to gif, now you can right click and split the video so, if the video's reeeaally long (like this episode) you will get rid of the rest

now you can do the same to the other side so you have a specific scene you want to transform into a gif

if you still have parts of the video you want to get rid of, you can do the same thing as before, but now it will be easier since we deleted all the other parts and we have only the part we actually need

now we can add effects! click on the right on effects & modifiers and then on Add Effect, then choose LUT color correction and choose a .cube or .lut file you have on your computer (i provide some luts in my goodies corner, go check them out!)

now it's time to add the sharpen effect! click again on Add Effect then on sharpen and now you're free to do whatever you want, but if you want to get the same effect then follow the gif

now check if the canvas is 1080p (i should have done that before, sorry) then you can export to .gif

wait until the export is finished and you'll have a heavy gif file. now's the time to optimize!

open ezgif and click on Resize, then drag the gif you just saved from vidmix

choose your preferred width and then leave the height alone because it will resize it automatically (so the gif will not be streched or come out weird). when you're done, click on the blue button

if you're satisfied and the gif's not too heavy, then you can click on the save button. if you want the gif to be smaller, then under the gif output, click on Optimize and leave the default values (or play with them if you want to experiment)

ta-dah! you're done 
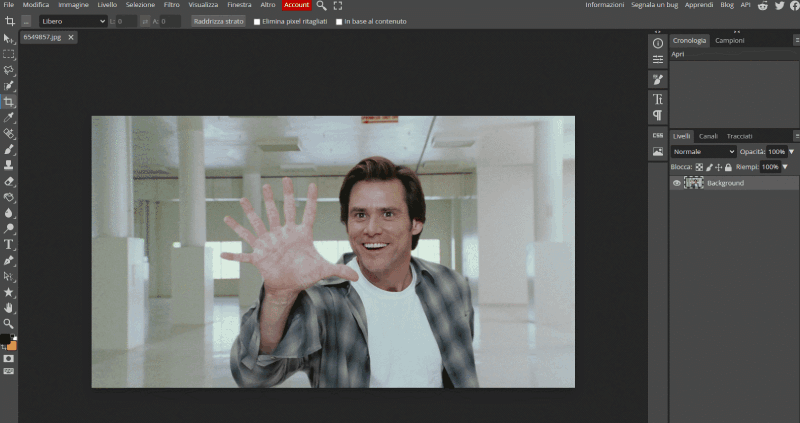
here's the final gif: